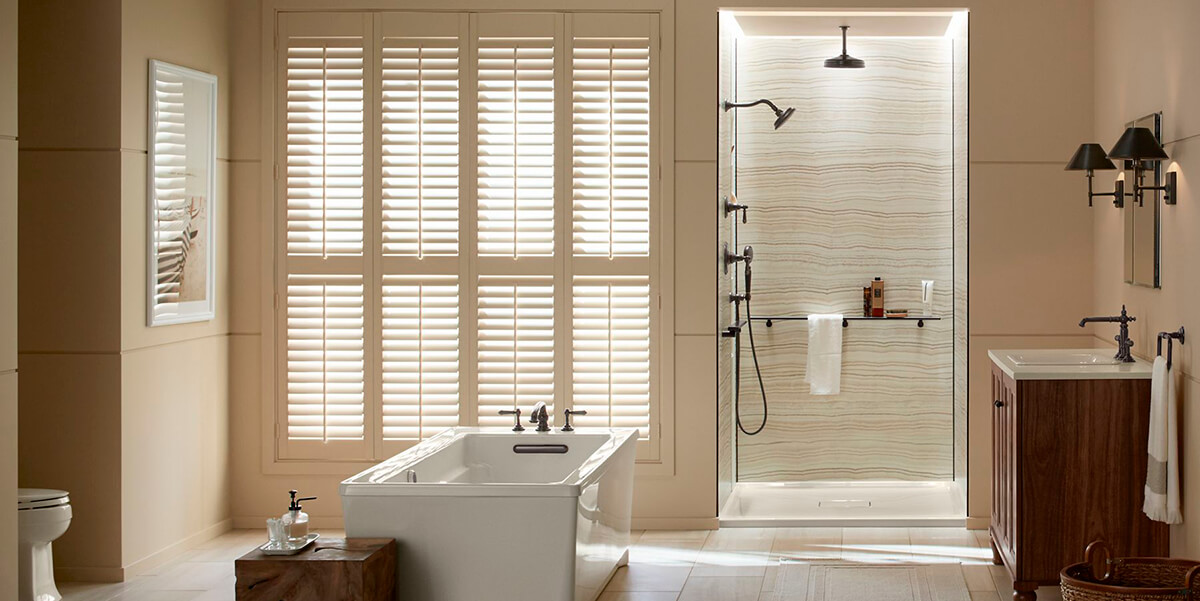
Preparing shower walls for tile requires special attention because the constant humidity in this area makes it necessary to take some special measures. The key to obtaining an excellent result after tiling is not only the high-quality tile and the best tile leveling system but also a thorough surface preparation before laying tile. A smooth and even base facilitates all the subsequent work, reduces the consumption of the tile adhesive, and increases the durability of the finished coating. Due to the correct approach to this issue, the further tiling won’t cause any difficulties even among beginners.
Step #1. Removing the old tile and cleaning the base
The initial stage in preparing walls for tiling requires cleansing the walls from the previous coating and cleaning it from the dust. If there are old tiles on the surface, they must be removed. Use a chisel to take off the tile, prying each piece, and removing them from the wall. After that, clean the base from the glue left from the previous coating. You can do it using a spatula or grinder.
After cleaning the old coating, it is necessary to sand the wall and carefully wipe the surface with a damp cloth to clean the base from dust. Before proceeding to the next stage, wait until the walls completely dry after cleaning.
Step #2. The surface leveling
Usually, all walls tend to have a certain curvature, but the tile will be firmly and permanently fixed only on a perfectly flat surface, so it must be prepared. There are two ways to do that.
If the wall has a lot of curvatures, you can completely sheathe them with a drywall. Just remember to choose a special moisture-resistant material. Also, you have to consider that the drywall construction is not designed for a large load, so don’t choose bulky and heavy tiles.
You can also just chip off any asperities from the surface using a pickaxe. After that, all the hollows in the wall must be sealed with plaster.
Step #3. Elimination of imperfections and inaccuracies
During a shower tile prep on the concrete base, it’s necessary to plaster the surface in places where there are hollows and cracks. After complete drying of the plaster layer, all the surface must be covered with putty and primed. The primer must be anti-bacterial and high-quality since the durability of the future lining in the shower also depends on it.
As for the wooden base, it must be strong and stable enough to withstand the weight of the tile. Fill the surface with a metal grid to strengthen it, and then apply a layer of plaster.
Step #4. The surface waterproofing
One of the most important things about how to prepare shower walls for tile is waterproofing that can’t be neglected. Usually, special pellicle or liquid solutions are used for waterproofing, as they are aimed to provide better tile installation. However, when choosing a waterproofing agent for the walls in the shower, it’s better to opt the one with a liquid consistency. Due to its texture, it creates a dense protective layer that will reliably protect the walls from water. In addition, waterproofing walls with liquid solution is much more convenient than using a pellicle. You can apply it on the wall with a brush or roller.
For additional protection from moisture, add a bit of waterproofing solution to the tile adhesive. Don’t worry, the structure of glue won’t change from such mixing, but the waterproofing effect will be significantly improved.